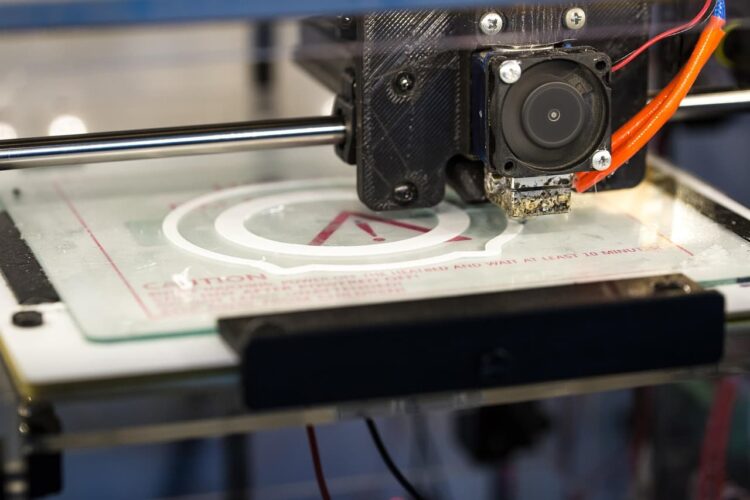
Choosing the right manufacturing process for a plastic prototype impacts your development timeline and testing accuracy. Designers often face a choice between the speed of additive manufacturing and the precision of subtractive machining. Selecting the wrong method can lead to failed physical tests or wasted budget. Let’s take a closer look at how these two methods compare for functional validation.

How CNC Machining Delivers Production-Grade Parts
When you need a prototype to perform exactly like the final injection-moulded product, CNC machining is usually the best option. Unlike additive methods, CNC machining cuts away material from a solid block or rod. This means the prototype retains the exact mechanical properties, tensile strength, and thermal resistance of the original material.
For functional testing or load-bearing checks, engineers source high-quality industrial engineering plastics in sheet or rod form. Machining from these stocks ensures there are no internal voids or weak layer lines. Materials like nylon, acetal, and PEEK machine exceptionally well, allowing you to test fit and structural integrity with total confidence. You also achieve far tighter tolerances and smoother surface finishes, which are essential for moving parts or seals.
Where 3D Printing Excels for Early Stage Models
3D printing techniques like Fused Deposition Modelling (FDM) and Selective Laser Sintering (SLS) offer unmatched freedom with complex shapes. If your design features intricate internal channels or hollow spaces, a 3D printer can build it layer by layer without the tool access limitations that affect CNC mills.
This makes additive manufacturing ideal for rapid visual models and early form checks. You can get a part on your desk within 24 hours to verify the basic size and look. However, these printed parts are anisotropic, meaning they are weaker along the print lines. They often fail when subjected to real mechanical stress or high temperatures. This means they cannot truly validate the performance of a part intended for harsh environments.
Cost and Timeline Differences for UK Designers
Budget and time constraints dictate which direction your prototyping project takes. For a single, highly complex component, 3D printing is almost always cheaper and faster. UK service bureaus can turn around SLS parts in days with minimal setup costs because they don’t require specialised workholding or programming.
CNC machining requires a machinist to program the toolpaths and secure the material. This creates a higher initial setup cost. But if you need ten or twenty prototypes, CNC machining becomes highly cost-effective. The cycle time per part is often much faster than printing, and buying engineering plastic stock in bulk lowers the unit price.
How to Match the Prototyping Method to Your Testing Goals
Your choice ultimately depends on what you want to prove with the prototype. If you’re verifying how a component fits into an enclosure, a quick SLS print will give you the answer without a large investment. It allows you to catch design flaws early before committing to expensive production tooling.
If you need to test mechanical wear, fluid flow, or chemical resistance, you must use machined parts instead of printed ones. A printed part might absorb fluids due to its porosity, whereas a component machined from solid sheet material behaves predictably. This predictability is vital when presenting data to stakeholders or regulatory bodies.
The Final Verdict
Balancing speed against physical performance is the core challenge in prototype development. While 3D printing dominates the early stages of design verification, CNC machining remains indispensable for rigorous functional testing. Evaluating your specific testing requirements early ensures you pick the most efficient path towards a successful product launch.